Ever since a buddy of mine started making his own sourdough (he was proficient at creating all sorts of substances by fermentation), I’ve been wanting to try this. This is a simple method of making your own sourdough bread, though it’s not as “simple” as one might expect.
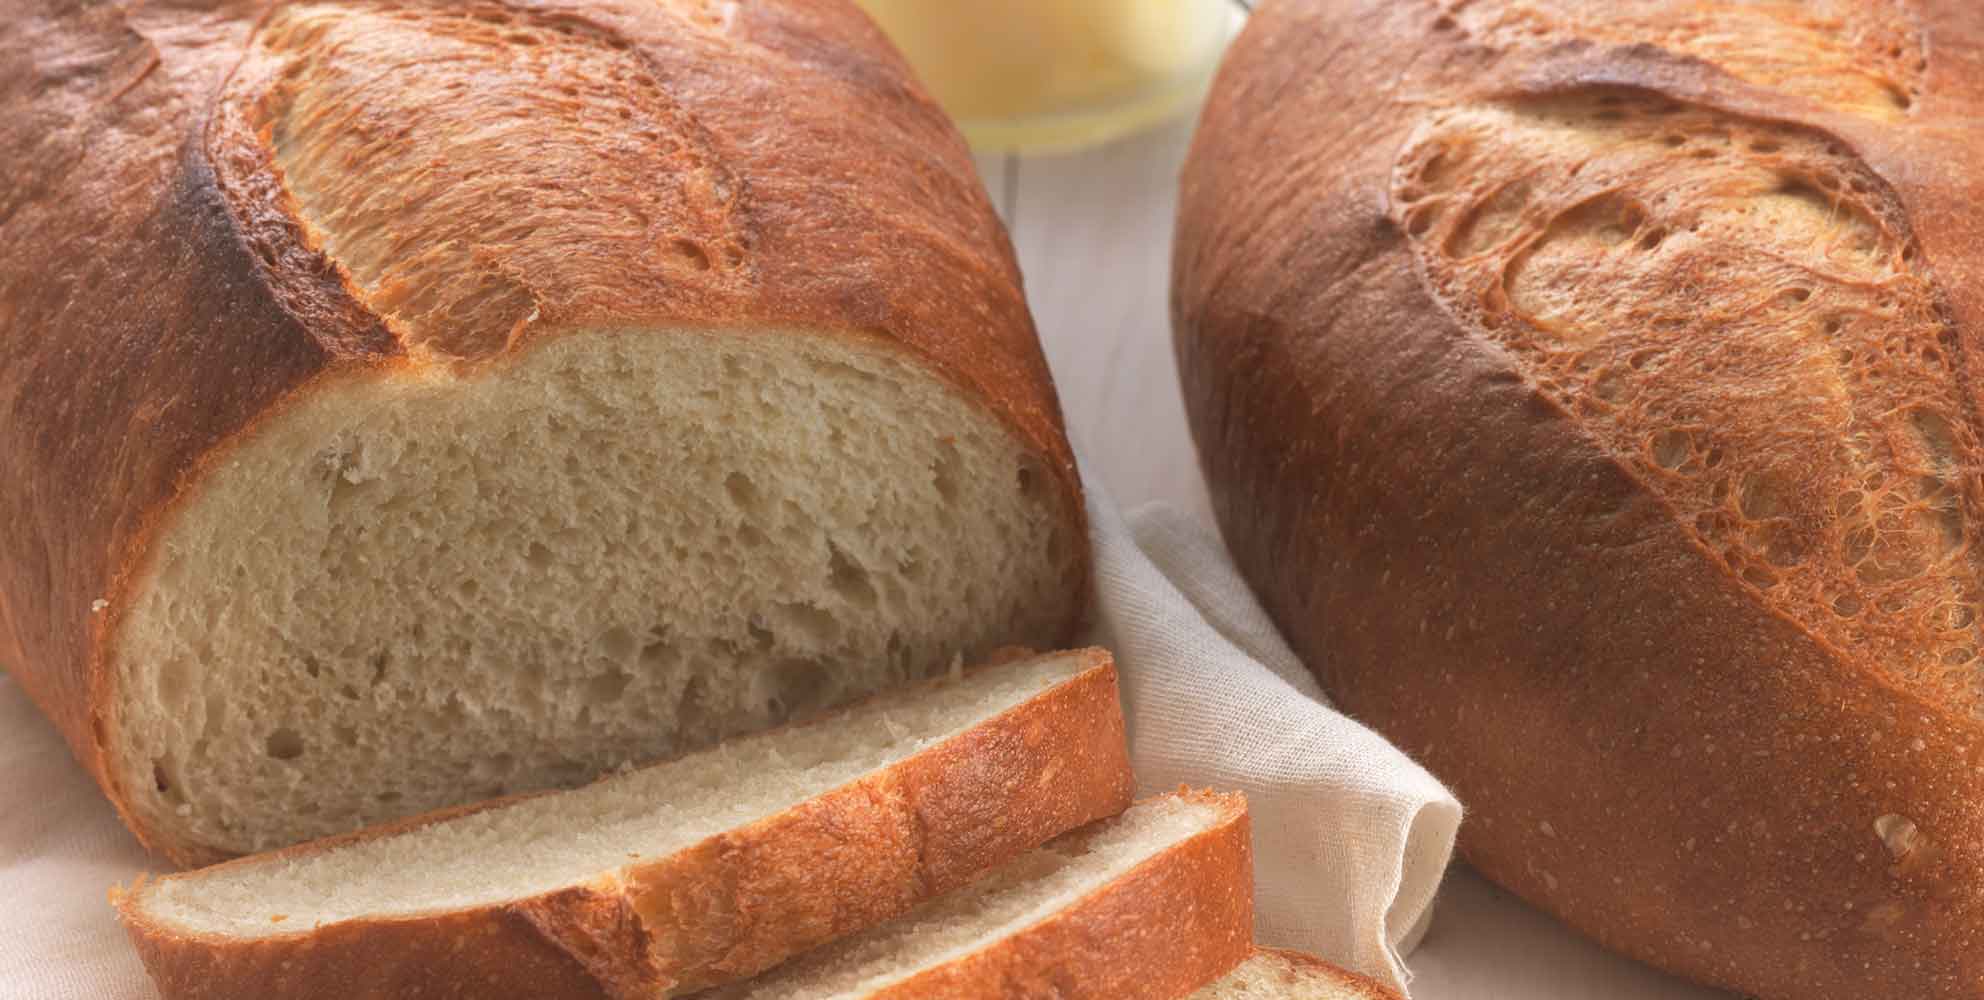
Sourdough Bread
Ingredients
- 2 ⅓ Cs fresh sourdough starter(see below)
- 3 ⅓ C all-purpose flour
- 1 to 1 ½ cups water
- 1 Tbsp salt
Directions
-
Mix sourdough starter, flour, and salt together. Add 1 cup water, then more as needed to make a moist bread dough.
-
Knead dough until it passes the “window pane test.” That is, a small piece of dough will stretch between four fingers thin enough to allow light to pass through without breaking.
-
Split the dough in half. Shape each half into a loaf.
-
Place in a loaf pan (9 x 5 x 3 inches), proofing basket, or on a board. Cover lightly with a towel and proof 4-24 hours. While a second proofing period is not required, if desired, punch dough down after 4-12 hours, reshape, and proof again.
-
Score the tops of the loaves with an “X” using a sharp knife or razor blade in order to control expansion while baking.
-
Bake at 400°F for 30-60 minutes, depending on size of the loaves, or until the internal temperature reaches 190° to 210°F. Use an instant-read thermometer inserted into the bottom or side of the loaf.
-
Allow to cool for 15 to 30 minutes before slicing.
Sourdough starter
-
Remove ¼ cup sourdough starter from the refrigerator or measure the amount of starter you have.
Feed starter with flour and water: If using a scale to measure ingredients, combine equal amounts by weight of starter, water, and flour. For instance, 50 grams starter, 50 grams water, 50 grams flour. If using measuring cups, combine 1 part starter, 1 part water, and a little less than 2 parts flour. For instance, ¼ cup starter, ¼ cup water, slightly less than ½ cup flour.
Mix vigorously. -
Cover the container and let starter culture for 12-24 hours in cooler temps for a tangier sourdough, for 8-12 hours in warmer temps for a sweet starter.
-
Repeat this process two more times prior to baking, measuring the amount of starter you have and using the same ratios prescribed above. By the third “feeding”, the starter should be very bubbly and double in size within 4-8 hours of being fed, indicating that the yeast and bacteria are creating adequate gas to properly leaven bread. If not, continue feeding until the starter is bubbly and active.
-
Once your starter is bubbly and active, you have fresh sourdough starter! If you have enough starter to meet the requirements of your recipe, it’s time to bake! If you do not have enough starter yet, continue feeding and building up more starter.
-
Once your starter is bubbly and active you will need to prepare it for baking by determining how much starter your recipe requires and building it up to that amount. If you have enough starter to meet the requirements of your recipe, it’s time to bake!
-
If you do not have enough starter yet, continue feeding and building up more starter. You can learn more about Preparing Fresh Starter for Baking in our tutorial or try one of our many Sourdough Recipes!
0 comments on “Sourdough Bread” Add yours →